How to Downgrade WordPress to Fix Plugin or Theme Issues
If your website has disordered due to an upgrade version of WordPress, don’t worry! Without loosing any data your website can be downgraded. Follow our blog, here we will guide you step-by-step on how to downgrade your WordPress website effectively.
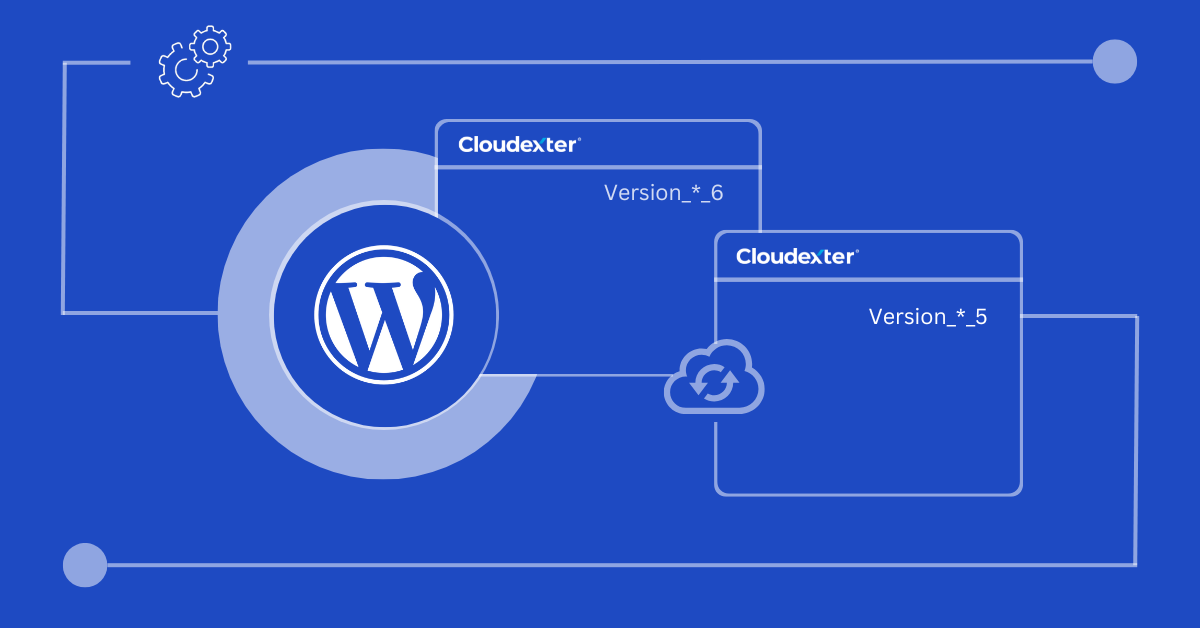
If you want to improve the performance of your WordPress website or enjoy an exceptional hosting experience, try Cloudexter’s cPanel Web Hosting today. We even offer a 7-day trial for you to explore our services!
1. Why You May Need to Downgrade WordPress
- Compatibility Issues: New updates might conflict with plugins or themes, breaking certain features.
- Performance Problems: Sometimes, updates might slow down your site if new features are resource-intensive.
- Temporary Testing Needs: If testing a new feature or plugin, downgrading temporarily can help identify root causes without permanently affecting the website.
- PHP Compatibility: Some plugins may work only on certain PHP versions, requiring a downgrade if a newer version causes issues.
2. Best Practices Before Downgrading
- Compatibility Issues: New updates might conflict with plugins or themes, breaking certain features.
- Performance Problems: Sometimes, updates might slow down your site if new features are resource-intensive.
- Temporary Testing Needs: If testing a new feature or plugin, downgrading temporarily can help identify root causes without permanently affecting the website.
- PHP Compatibility: Some plugins may work only on certain PHP versions, requiring a downgrade if a newer version causes issues.
3. Step-by-Step Methods to Downgrade WordPress Core
Method 1: Manual Downgrade Using FTP
Back-Up Site and Deactivate Plugins:
- Ensure all your plugins are deactivated. This step prevents conflicts during downgrading.
Download an Older Version of WordPress:
- Access the WordPress Release Archive at Click.
- Choose the version you wish to downgrade to, ideally the one that was working without issues.
Delete wp-admin and wp-includes Folders:
- Using FTP (FileZilla or Cyberduck), navigate to your WordPress root directory.
- Delete wp-admin and wp-includes directories.
Upload the Downloaded Files:
- Upload all files except wp-content to avoid overwriting your current themes and plugins.
Run Database Update (if Prompted):
- After logging in, if prompted, follow the instructions to update the database.
Note: Downgrading manually requires familiarity with FTP. A small mistake can lead to downtime.
Method 2: Downgrade Using the WP Downgrade Plugin
Install WP Downgrade:
- From the WordPress Dashboard, go to Plugins > Add New.
- Search for “WP Downgrade” and install it.
Set Your Target Version:
- After activation, go to Settings > WP Downgrade.
- Enter your desired WordPress version and save changes.
Reinstall WordPress:
- Navigate to the Updates section and click Reinstall Now. WordPress will downgrade to the specified version.
4. Reverting to Previous Plugin Versions
Method 1: Manual Downgrade for Plugins
Download an Older Plugin Version:
- Go to the plugin’s page in the WordPress directory.
- Click “Advanced View” and choose the desired version to download.
Upload the Older Plugin Version:
- Delete the current version in wp-content > plugins.
- Upload the older version of the plugin.
Activate the Plugin:
- Reactivate the plugin and test if it resolves the issue.
Method 2: Use the WP Rollback Plugin for Plugins/Themes
Install WP Rollback:
- Search for and install WP Rollback from the plugin directory.
Select Plugin to Rollback:
- Under Plugins, you’ll see a Rollback option. Choose the version you wish to revert to and click Rollback.
5. Reverting to a Previous WordPress Backup
Backup Plugins like UpdraftPlus:
- Use UpdraftPlus, Jetpack, or any reliable backup plugin to restore a previous backup.
Hosting Provider’s Backup Feature:
- Many managed hosts like Cloudexter offer automatic backups and restoration.
6. Downgrading PHP Version
Using cPanel:
- Log into cPanel and go to “PHP Selector.”
- Select the version you need to downgrade to and apply the changes.
Hosting Control Panel:
- If using a platform like Cloudexter, check if they offer easy version switching.
7. Additional Tips and Best Practices
Testing in Staging Environment:
- Create a staging site (often available with managed hosts) to test the downgrade without affecting the live site.
Preventing Recurring Issues:
- Regularly check plugin and theme compatibility with new WordPress versions.
Check Plugin and Theme Documentation:
- Often, plugin/theme developers will have notes on compatibility that can be a valuable resource.
Conclusion
Downgrading your WordPress site is a powerful troubleshooting technique when compatibility issues arise. However, it’s a temporary solution. Always aim to update your site back to the latest version once the problem is resolved for optimal security and performance. With Cloudexter’s WordPress hosting solutions, we ensure compatibility and offer staging environments to test such changes safely. Let us know in the comments if you need further assistance with downgrading, and explore our managed hosting plans designed for peak performance, security, and expert support.